Table of contents
Open Table of contents
Overview
NoteMe is a nifty web-based blogging platform that lets users share their thoughts online. It has all the basic features you’d expect, like creating, reading, updating, and deleting blog posts. The app is currently in its first version, so it’s pretty straightforward - just paragraph-based posts without any fancy extras. But what’s really cool about NoteMe is its technical setup. The team combined Next.js and Hono.js, hosting it all on Cloudflare Workers. This edge runtime architecture makes the app’s API blazing fast, which is a huge plus.
This was my first big full-stack development project, and I’m really proud of how it turned out. Bringing together all these modern web technologies was a fun challenge. I can’t wait to see how NoteMe evolves over time. If you’re into blogging or just love cool tech, definitely give it a look!
Tech Stack
The website is built using modern web technologies to ensure high performance, responsiveness, and ease of maintenance. Key technologies include:
- Next.js: The React Framework for frontend
- Hono.js : Backend on Edge Runtime
- Cloudflare Workers: Serverless Deployment
- Prisma: ORM and Accelerate
- Neon DB: Postgress Database
Adding Hono.js for API development
Add the route.ts in api dir in [[...route]] folder
app/api/[[...route]]
          └── route.ts
To deploy to cloudflare workers, import PrismaClient from edge client
import { PrismaClient } from '@prisma/client/edge'
and set the runtime to ‘edge’
export const runtime = 'edge';
Create the main object using hono and the env variable can be supplied in Bindings, other variables in Variables option.
const app = new Hono<{
    Bindings: {
        DATABASE_URL: string,
        JWT_SECRET: string,
    },
    Variables: {
        userId: string
    }
}>().basePath('/api');
Adding Middleware for user authentication, lets say for /blog endpoint
app.use('/blog/*', async(c, next)=>{
    const authHeader = c.req.header("authorization") || "";
    try {
        const user = await verify(authHeader, c.env.JWT_SECRET);
        if (user) {
            c.set("userId", user.id);
            await next();
        } else {
            c.status(403);
            return c.json({
                message: "You are not logged in"
            })
        }
    } catch(e) {
        c.status(403);
        return c.json({
            message: "You are not logged in"
        })
    }
});
The .env variables has to be sent with each request we make, so the variables has to be loaded in each api separately. I am using Prisma Accelerate and variables can be supplied as below
// Signup route
app.post('/signup', async (c)=>{
  // variables has be sent with each endpoint created
    const prisma = new PrismaClient({
        datasourceUrl: c.env.DATABASE_URL,
    }).$extends(withAccelerate());

    const body = await c.req.json();
    // rest of code
})
We have to export the api as below
export default app as never

export const GET = handle(app);
export const POST = handle(app);
export const PUT = handle(app);
export const DELETE = handle(app);
To deploy this api separately on cloudflare workers, install wrangler
npm install wrangler --save-dev
and add the below script in the package.json
"scripts": {
  "dev": "next dev",
  "build": "next build",
  "start": "next start",
  "lint": "next lint",
  "deploy-backend": "wrangler deploy --minify app/api/[[...route]]/route.ts"
},
The .env variables value are hold by the wrangler.toml file, create a file wrangler.toml in the root directory.
app/api/[[...route]]
│           └── route.ts
└── wrangler.toml
Value that should be included are
name = "app-name"
compatibility_date = "2024-11-01" #current-date-of-deployment
[vars]
DATABASE_URL="YOUR_DATABASE_CONNECTION_STRING" # Prisma Accelerate string (reduce the db query traffic)
JWT_SECRET="RANDOM_STRING" #jwt token for encoding and decoding of user data if needed
And it can be now simply deployed by running the custom command we created
npm run deploy-backend
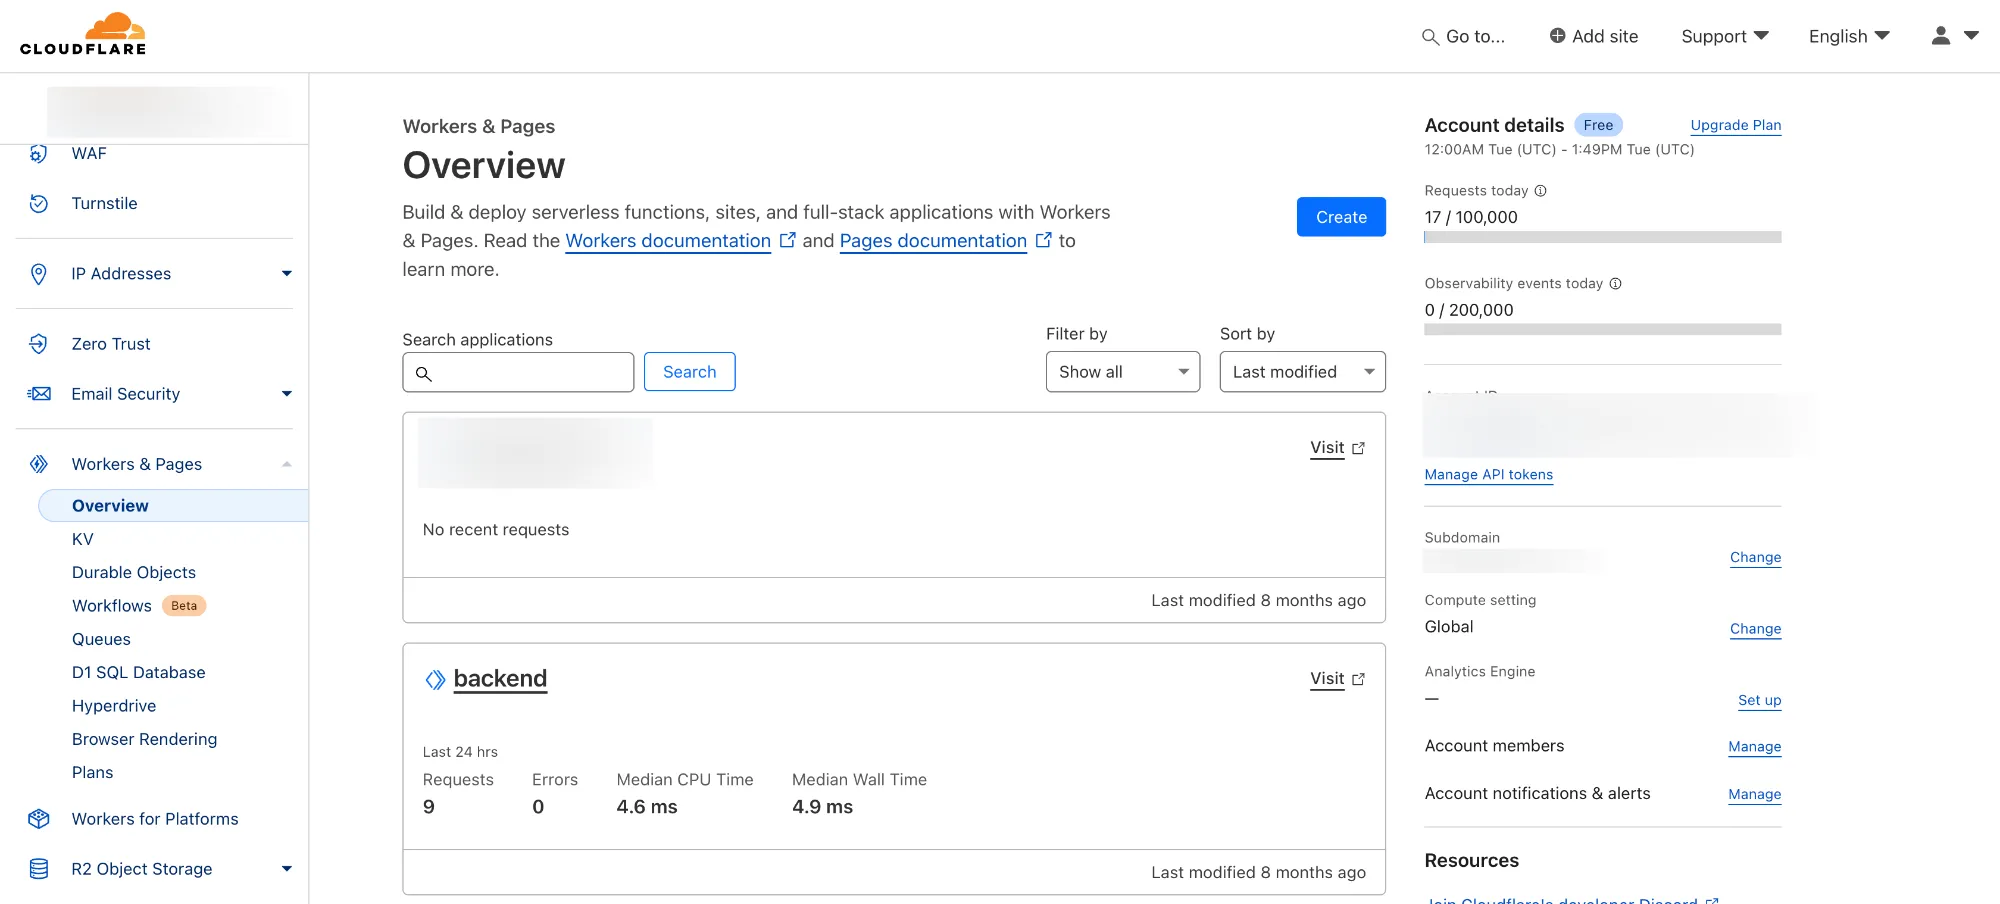
It deploys the backend on the cf workers

Using this method to separate your API from your Next.js application can be really beneficial. The main perk is that you’ll get faster API response times. Plus, you’ll have the flexibility to deploy your API on a platform that works best for it, without being tied to Vercel for your whole project.
As someone who also uses Express.js, I found this approach super easy and convenient when building APIs for my Next.js apps. I didn’t have to rely on Next.js’s API routes or server actions, which was great. And being able to deploy the API separately can really help reduce downtime and save you from big Vercel bills. It’s a more scalable and resilient solution overall, giving you more control to adapt as your project evolves.
Random Profile Image
I am using DiceBear for the random profile image generation when new user create account on the platform.
This is the custom seedList I am using after playing for a while on DiceBear playground
const seedList = [
    'Cleo', 'Bandit', 'Abby', 'Mimi',
    'Molly', 'Bob', 'Sugar', 'Coco',
    'Simon', 'Socks', 'Luna', 'Angel',
    'Bubba', 'Annie', 'Shadow', 'Callie',
    'Cuddles', 'Lilly', 'Buster', 'Dusty',
    'Oreo', 'Princess', 'Max', 'Toby',
    'Jasper', 'Sheba', 'Casper', 'Buddy',
    'Milo', 'Simba'
  ];
DiceBear offers a lot of avatar style you can pick on. Here, I am generating a random numberIndex and based on that, the number is supplied to api to get the random image from it
const randomIndex = Math.floor(Math.random() * seedList.length);
let url = `https://api.dicebear.com/7.x/notionists/svg?seed=${seedList[randomIndex]}&size=80`;
and then, I am supplying the url link to my sign-up component for further process.
  <div className="flex justify-center items-center h-screen">
      <SignUp_Component imageURL={url}/>
  </div>
Other than that, there isn’t much to discuss about the components, pages, and design that make up the entire web app.
Thank you for reading this far.